Logonimation 1
Publish date: Mar 6, 2024
Last updated: Dec 5, 2024
Last updated: Dec 5, 2024
In this tutorial, we will be creating a logo reveal animation with Friction.

QT pi logo animation
Here’s the video version for this tutorial.
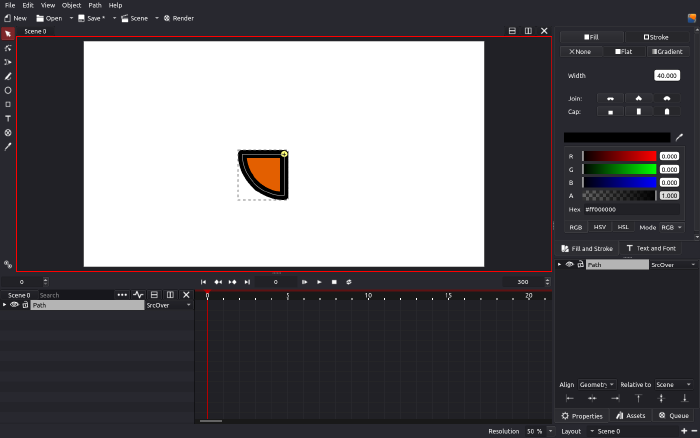
Create the base shape
- Create a circle 200 px.
- Convert to path and delete circle.
- Select the object and grab the Point Tool.
- Hold control shift to see nodes numbers.
- Disconect nodes 1 and 2.
- Keeping the nodes original numbers, delete node 1.
- Connect nodes 0 and 2.
- The new segment will be a curve, make it a line.
- While they are selected, add a new node.
- Hold control shift again to see nodes numbers.
- Disconect nodes 2 and 3.
- Delete node 2.
- Connect nodes 1 and 3 and make it a line segment.

Create logo reveal animation
- Remove stroke.
- Duplicate it and group them.
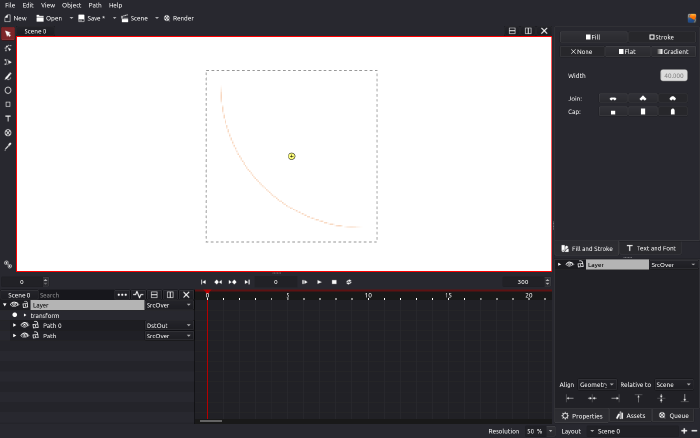
- Promote the group to layer so that the blend mode will not influence other objects.
- Select the top object and change blend mode to DstOut. This will cover the object beneath.
- If you notice, it doesn’t cover all of it, I believe this has something to do with antialiasing. We will fix this later.

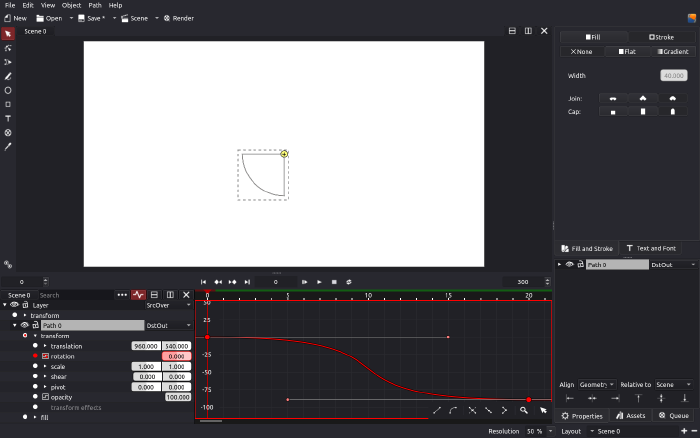
- While the top object is still selected, activate the rotation animation.
- Go to frame 20 and rotate -90 degrees.
- Enable Graph mode and smoothen animation curve.

- To fix the antialiasing issue, duplicate the top object several times.
You can now use the animation as a building block for your design.